The process of making my website (Part 2)
Introduction
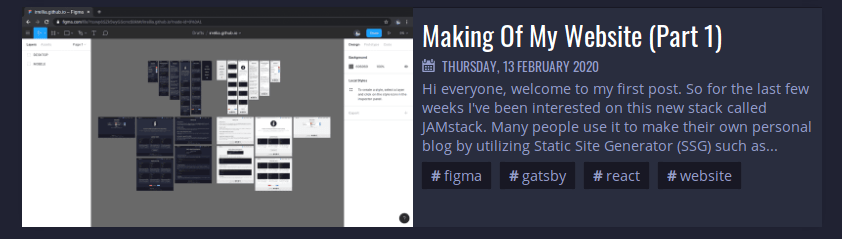
Hello everyone, I hope you all doing great! Welcome to my second part of my process of creating this blog using Gatsby SSG. Last time, I tell you about the design process in Figma which you can read over Here. In this part, I will talk about my ‘coding’ process.
Preparation
I initialize the Gatsby project using gatsby-cli. To install gatsby-cli is dead simple, you just need to run npm i gatsby-cli -g and there you have it. Then I initialize gatsby project using gatsby new <project-name> command. After having the project created, I ran gatsby develop to start the development server. Now everything is set up, it’s time to jump to my favorite text editor of all time which is Neovim.
Coding Session
Cleaning Up
First thing first, I make my gatsby project to be a plain project by deleting unnecessary stuff like images, header and footer. After cleaning up, I installed PostCSS and Autoprefixer. Basically, it adds prefix for browser compatibility to my css so I don’t have to add it manually.
Header and Footer
As per usual, I make the mobile version first. I started by making the fixed navbar. I quite struggle on the hamburger menu since I never make an animated hamburger menu, but thanks to This I figure it out. It uses checkbox to decide the hamburger state, I never use that technique before. Props to the author for that pen.
After finishing the navbar, I made the overlay menu when you click the hamburger and gave it a fade effect when opening and closing. Mobile navbar is completed, so I moved to footer. When I first made the footer, I hardcoded the links of my social media to the JSX but after watching videos about Gatsby Here, it is better to use the graphql query to load the links from gatsby-config. I highly recomend checking that out if you don’t know what Gatsby JS is and want to get started
Pages
After finishing Navbar and Footer, It is time to make the about page because it’s the easiest.
I added the slight move up animation when you go to the home page to make it look a bit nice. I didn’t create the posts list yet on home page because I haven’t created any post. I made the archives page after that, just the layout of it so all of the buttons on the navbar have a destination page. Then I make the post page which is the most challenging part for me.
First of all, I installed gatsby-transformer-remark which will transform my markdown files to html that can be used for the blog post. I made the place holder posts just to make sure that it’s all working also to use it as a placeholder for the latest posts list.
Dealing with Images
I use gatsby-image to display the card image on the card component to improve my website performance. Gatsby-image is just great. It blurs your image when it’s not fully loaded so it doesn’t messed up your dom and you won’t see those grey backgrounds or weird stutter that you usually see when the image isn’t fully loaded.
The card component that I made contains several stuff that comes from graphql query which takes data from markdown frontmatter. After finishing the card component, I made the page template for each post. When I made it, I changed my mind from being a colorful website to a monochromatic website.
I hosted the image on Cloudinary so it doesn’t take my repository space just for images. If you have a better solution, feel free to hit me up!
Stylings the page
I make the css for my blog page, it was just a simple thing, nothing really special except for the typography. I changed some of my initial mockup design because I think it doesn’t look that good. Who would’ve thought that choosing a font for your website could be so difficult. I went through several iteration to find the one that I like the most.
I also added the table of contents to make it easier for the user when navigating through my blog posts.
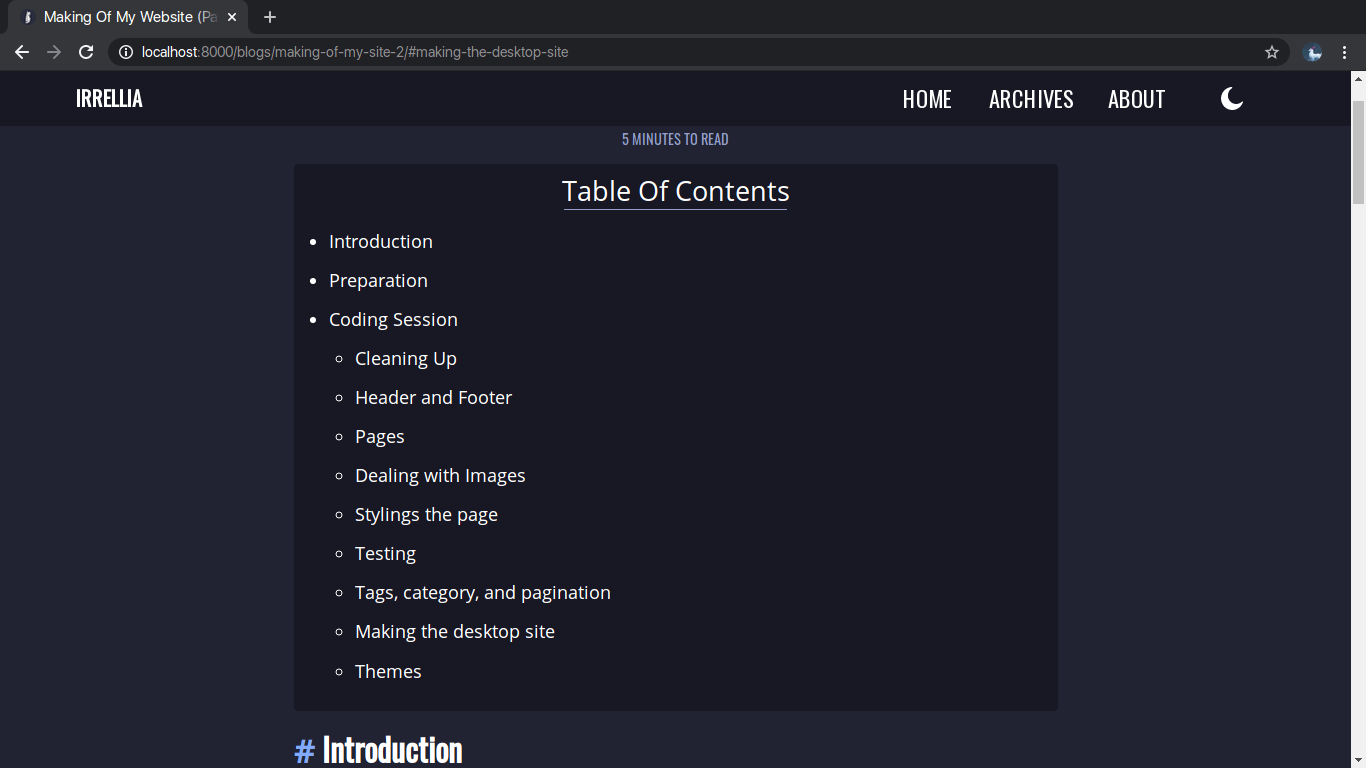
After making the TOC, I added the <pre> tag which I really like from a blog using a plugin called gatsby-remark-prismjs. As the name says, it utilize Prism JS to highlight my code. When I designing the page, I didn’t think that I could make this feature. But it is so simple, like stupid simple. You just add the plugin and the theme, that’s it. I made the theme on this site. It was very helpful. Here’s an example of prismjs in action.
const a = "this is";
const b = "just a";
const c = "test";
const thing = `${a} ${b} ${c}`;
console.log(thing);
$ sudo pacman -S neovimTesting
Finally, I can test the page using the real markdown and not stupid placeholder that I made lol. I decided to use my previous post which is the design process in figma. All looks good. I moved to other features.
Tags, category, and pagination
My blogs have tags and category for each of them. So, making a page that index all of the tags and category would be a good idea. It was quite a simple process by utilizing node api that can be configured in gatsby-node.js file just like when I made the blog page.
As for the pagination, it was a bit tricky. I found a good tutorial that helped me made the pagination. Here it is.
Making the desktop site
The mobile version is finished. (Yay!) I can finally make the desktop version. First thing first, I changed to navbar to make it more suitable for the desktop. I removed the hamburger and changed it to text menu that has a hover effect.
After doing that, I made the card component to be side by side. Here’s what I mean.
Themes
Now this is what I liked the most. Creating another theme brings you to another perspective of your website. Of course I make the light theme that is switchable automatically by default according to the time of the day and manually. Since I didn’t use CSS variables from the start, I have to replace all of the colours in css manually to variables to be able to make the switch for the theme. (Duh, silly me.)
I utilize react context for storing the colours variables. Big thanks to this article for making the theme toggler possible for me. I changed quite a bit of the colours from my design earlier.
Conclusion
The coding process took the longest time to do. According to github, it took around about 17 days. Well, it wouldn’t be that long if I’m not being a lazy person lol. I also got a lot of school stuff (homework, etc). Like, a lot.
Alright, let’s end this post since it’s quite a lengthy one. The next part is about deploying to github pages and other stuff. See ya next time!
If you don't see any comment section, please turn off your adblocker :)